Integrating the Editor
You have two ways to initialize the low-code editor:
- Clone the official low-code project demo and start the project directly. Suitable for most users.
- Manually import the low-code UMD bundles, manually configure, bundle, and start. Suitable for Webpack configuration engineers.
Method 1: Create an editor via the official CLI
Make sure Node.js and npm are installed locally. If not, you can install them quickly via nvm.
Make sure npm uses an accessible registry so installation has no network issues.
Install the official CLI tool:
npm install -g @rchh/create-element@latestCreate a project via the CLI:
npm init @rchh/element editor-project-nameYou will see a list of options:
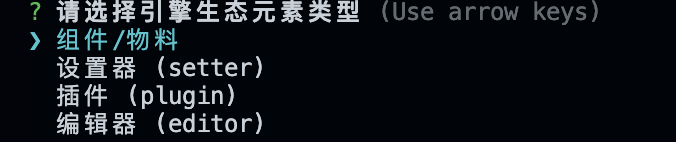
Select
Editorand fill in the corresponding prompts to complete creation.Note: @rchh/create-element must be >= 1.0.4. If you do not see the
Editoroption, rerun step 3.Enter the created directory:
cd editor-project-nameInstall dependencies:
npm installAfter dependencies install successfully, start the project (watch the output from the previous step; if there are errors or failures, troubleshoot first):
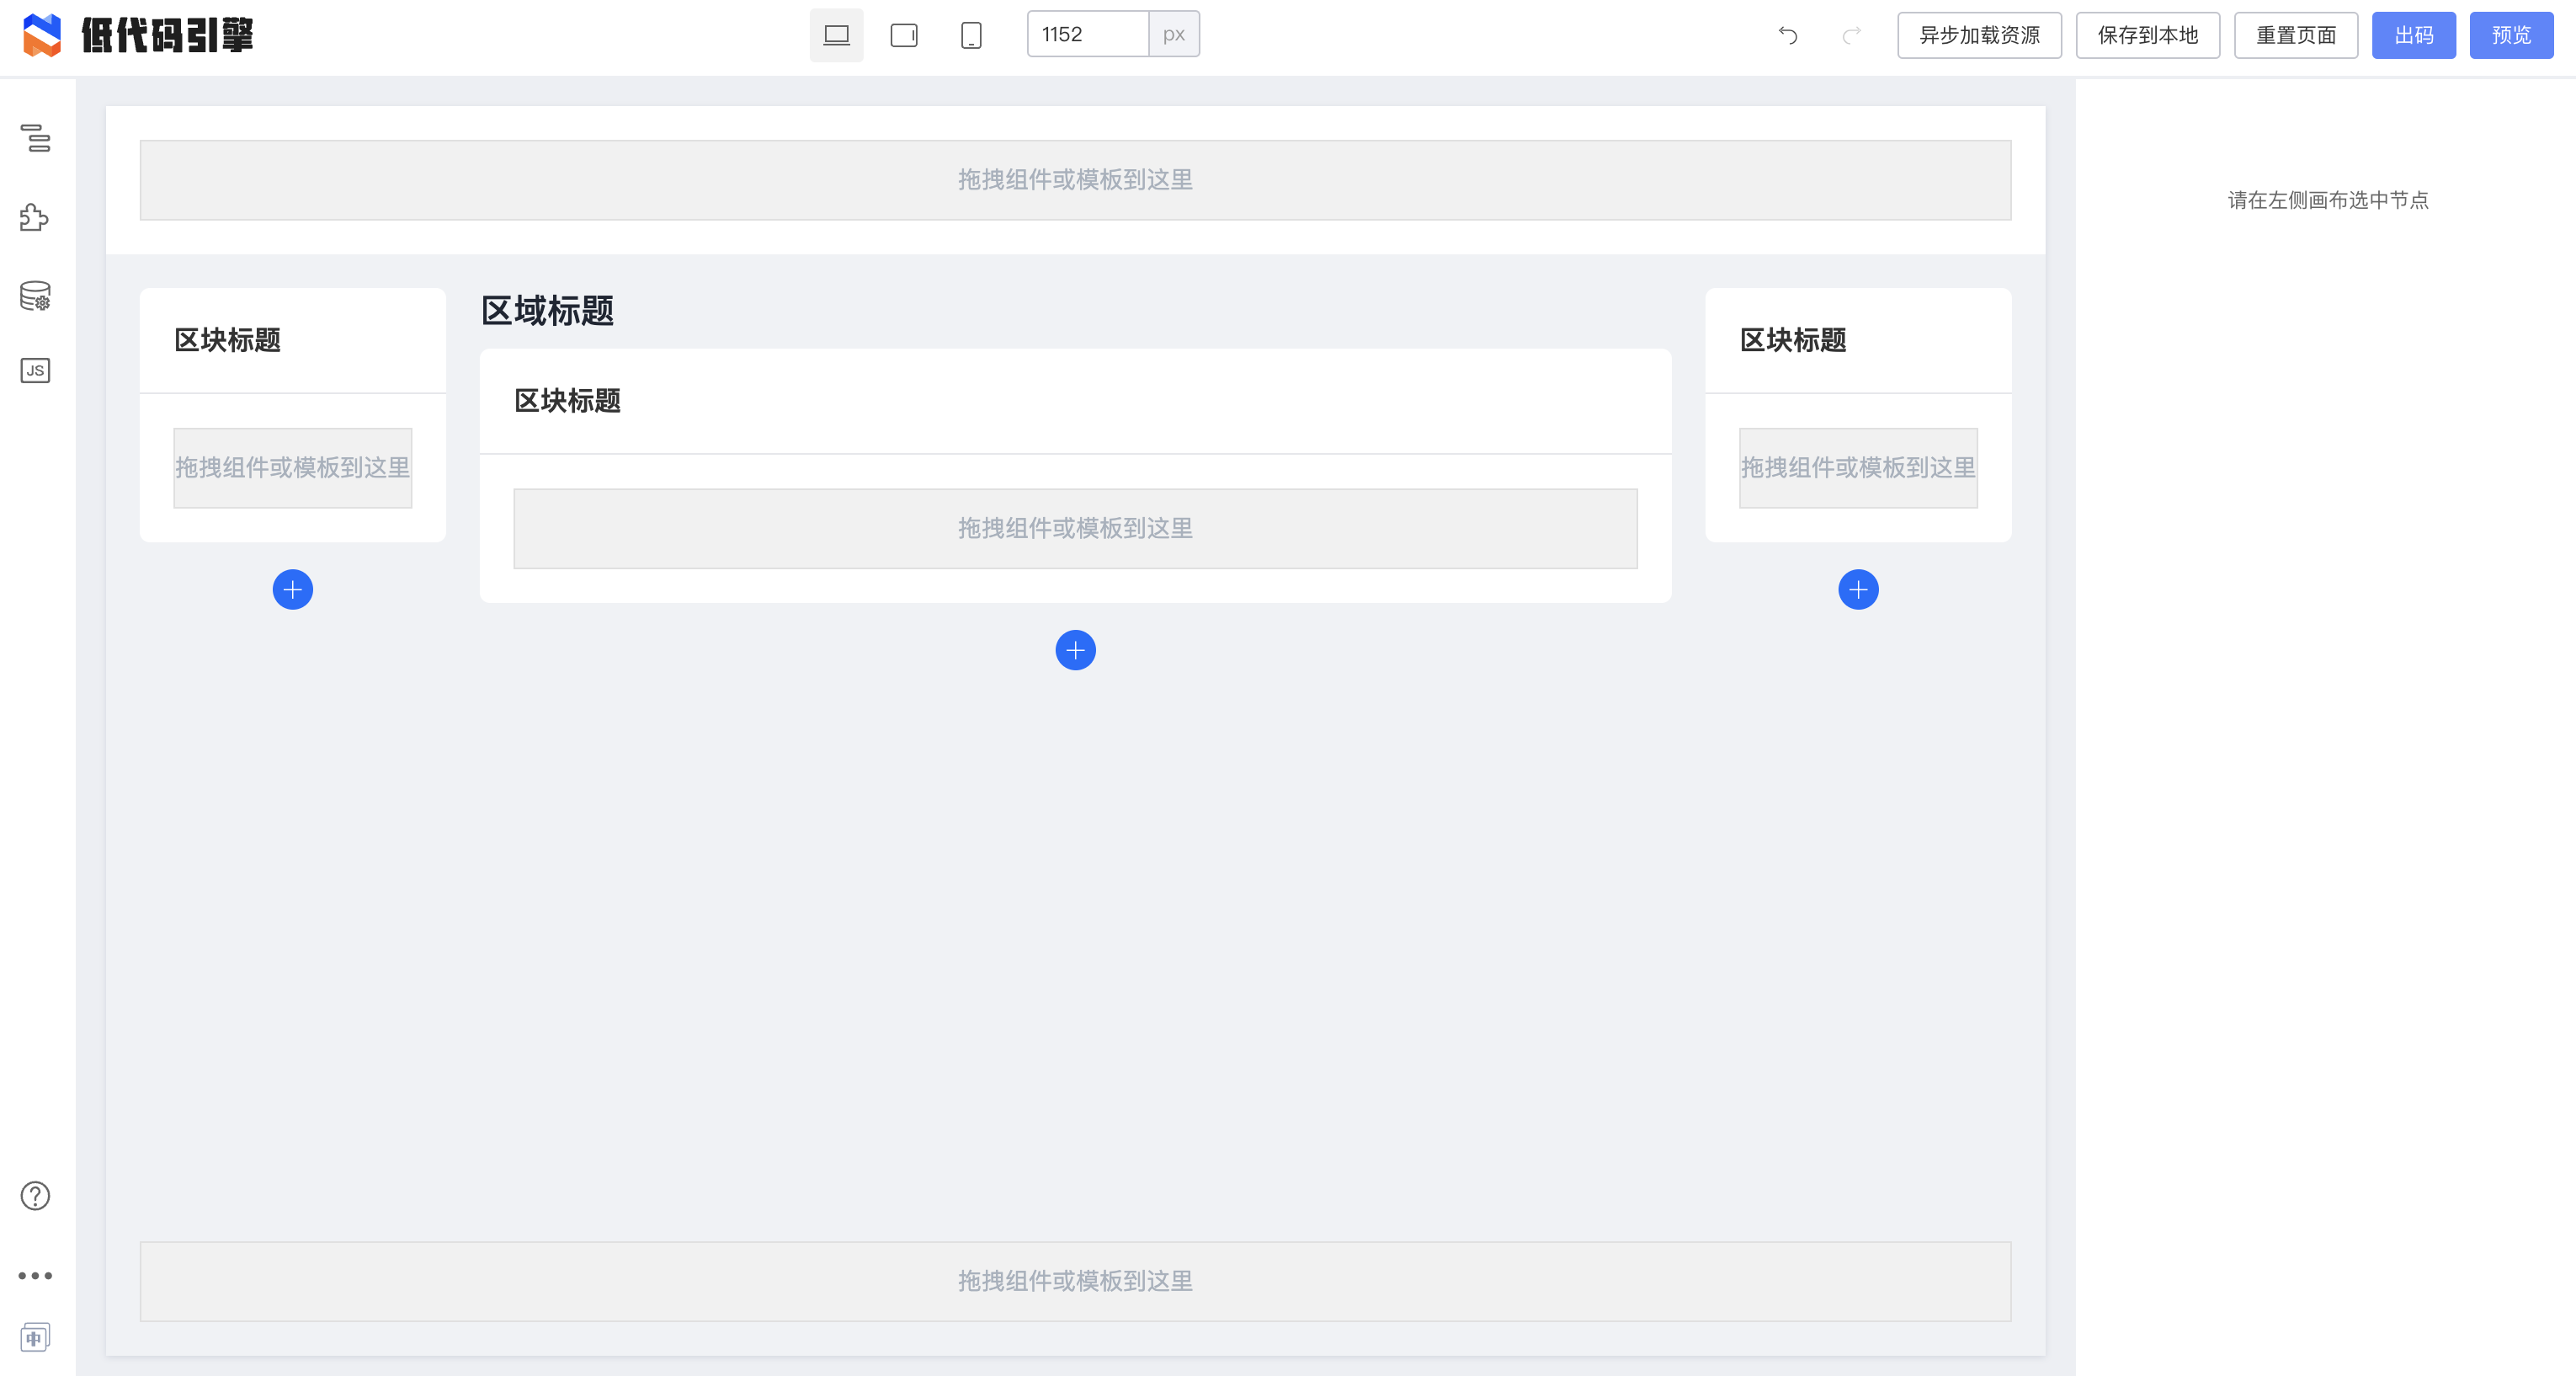
npm startIf you see this screen after running the command, the project started successfully. You can continue to the following chapters. The rest of this chapter covers advanced configuration.
Method 2: Configure with UMD bundles
If you are not starting from scratch, you may need to manually import the low-code engine.
Import UMD bundle resources
Before startup, correctly depend on the following via UMD bundles in your project:
You can also use an async loader if you load them in the correct order.
<!-- Low-code engine page shell styles -->
<link
  rel="stylesheet"
  href="https://uipaas-assets.com/prod/npm/@rchh/lowcode-engine/1.0.18/dist/css/engine-core.css"
/>
<!-- Fusion Next component styles -->
<link rel="stylesheet" href="https://g.alicdn.com/code/lib/alifd__next/1.23.24/next.min.css" />
<!-- Low-code engine page theme styles; can be replaced with theme-lowcode-dark -->
<link
  rel="stylesheet"
  href="https://alifd.alicdn.com/npm/@alifd/theme-lowcode-light/0.2.0/next.min.css"
/>
<!-- Official low-code engine extension styles -->
<link
  rel="stylesheet"
  href="https://uipaas-assets.com/prod/npm/@rchh/lowcode-engine-ext/1.0.5/dist/css/engine-ext.css"
/>

<!-- React; can be replaced with production build -->
<script src="https://g.alicdn.com/code/lib/react/16.14.0/umd/react.development.js"></script>
<!-- React DOM; can be replaced with production build -->
<script src="https://g.alicdn.com/code/lib/react-dom/16.14.0/umd/react-dom.development.js"></script>
<!-- React compatibility for material-layer dependencies -->
<script src="https://g.alicdn.com/code/lib/prop-types/15.7.2/prop-types.js"></script>
<script src="https://g.alicdn.com/platform/c/react15-polyfill/0.0.1/dist/index.js"></script>
<!-- lodash, a dependency of the low-code editor -->
<script src="https://g.alicdn.com/platform/c/lodash/4.6.1/lodash.min.js"></script>
<!-- Date library, a Fusion Next dependency -->
<script src="https://g.alicdn.com/code/lib/moment.js/2.29.1/moment-with-locales.min.js"></script>
<!-- Fusion Next main bundle, a low-code editor dependency -->
<script src="https://g.alicdn.com/code/lib/alifd__next/1.23.24/next.min.js"></script>
<!-- Low-code engine main bundle -->
<script
  crossorigin="anonymous"
  src="https://uipaas-assets.com/prod/npm/@rchh/lowcode-engine/1.0.18/dist/js/engine-core.js"
></script>
<!-- Official low-code engine extension main bundle -->
<script
  crossorigin="anonymous"
  src="https://uipaas-assets.com/prod/npm/@rchh/lowcode-engine-ext/1.0.5/dist/js/engine-ext.js"
></script>
Note: If unpkg is slow, you can use the official CDN for a pinned engine version. For engine 1.0.18, use the official CDN below instead:
Configure bundling
Because these resources are imported via UMD, configure them as externals in webpack or other build tools so they are not bundled again:
{
  "externals": {
    "react": "var window.React",
    "react-dom": "var window.ReactDOM",
    "prop-types": "var window.PropTypes",
    "@alifd/next": "var window.Next",
    "@rchh/lowcode-engine": "var window.AliLowCodeEngine",
    "@rchh/lowcode-engine-ext": "var window.AliLowCodeEngineExt",
    "moment": "var window.moment",
    "lodash": "var window._"
  }
}
Initialize the low-code editor
After correct import, you can reference globals on window, such as window.AliLowCodeEngine.init. You can initialize the low-code engine directly:
// Make sure there is a <div id="lce-container" /> in <body> before running this
window.AliLowCodeEngine.init(document.getElementById('lce-container'), {
  enableCondition: true,
  enableCanvasLock: true,
});
If your project uses TypeScript, you can add the related packages as devDependencies for type inference:
// package.json
{
  "devDependencies": {
    "@rchh/lowcode-engine": "^1.0.0"
  }
}
// src/index.tsx
import { init } from '@rchh/lowcode-engine';

init(document.getElementById('lce-container'), {
  enableCondition: true,
  enableCanvasLock: true,
});
init includes but is not limited to:
- Passing
optionsand setting theconfigobject; - Passing
preferenceand setting thepluginsargument; - Initializing the Workbench;
The low-code editor example in this section can be found in the demo: https://github.com/alibaba/lowcode-demo/blob/main/demo-general/src/index.ts
Configure the low-code editor
See the Low-Code Extension Overview chapter for details.