Graph Orchestration Extension
Running the Project
Prerequisites
- See /lowcode-engine/docs/guide/quickStart/start
- Follow through to Demo download /lowcode-engine/docs/guide/quickStart/start#%E4%B8%8B%E8%BD%BD-demo
Choose demo-graph-x6
Run in the root directory:
cd demo-graph-x6
Install Dependencies
Run in the lowcode-demo/demo-graph-x6 directory:
npm install
Start the Demo
Run in the lowcode-demo/demo-graph-x6 directory:
npm run start
Then access the DEMO at http://localhost:5556/.
Understanding the Demo
This Demo adds several simple materials through the graph orchestration engine and is already a product interface for real users.
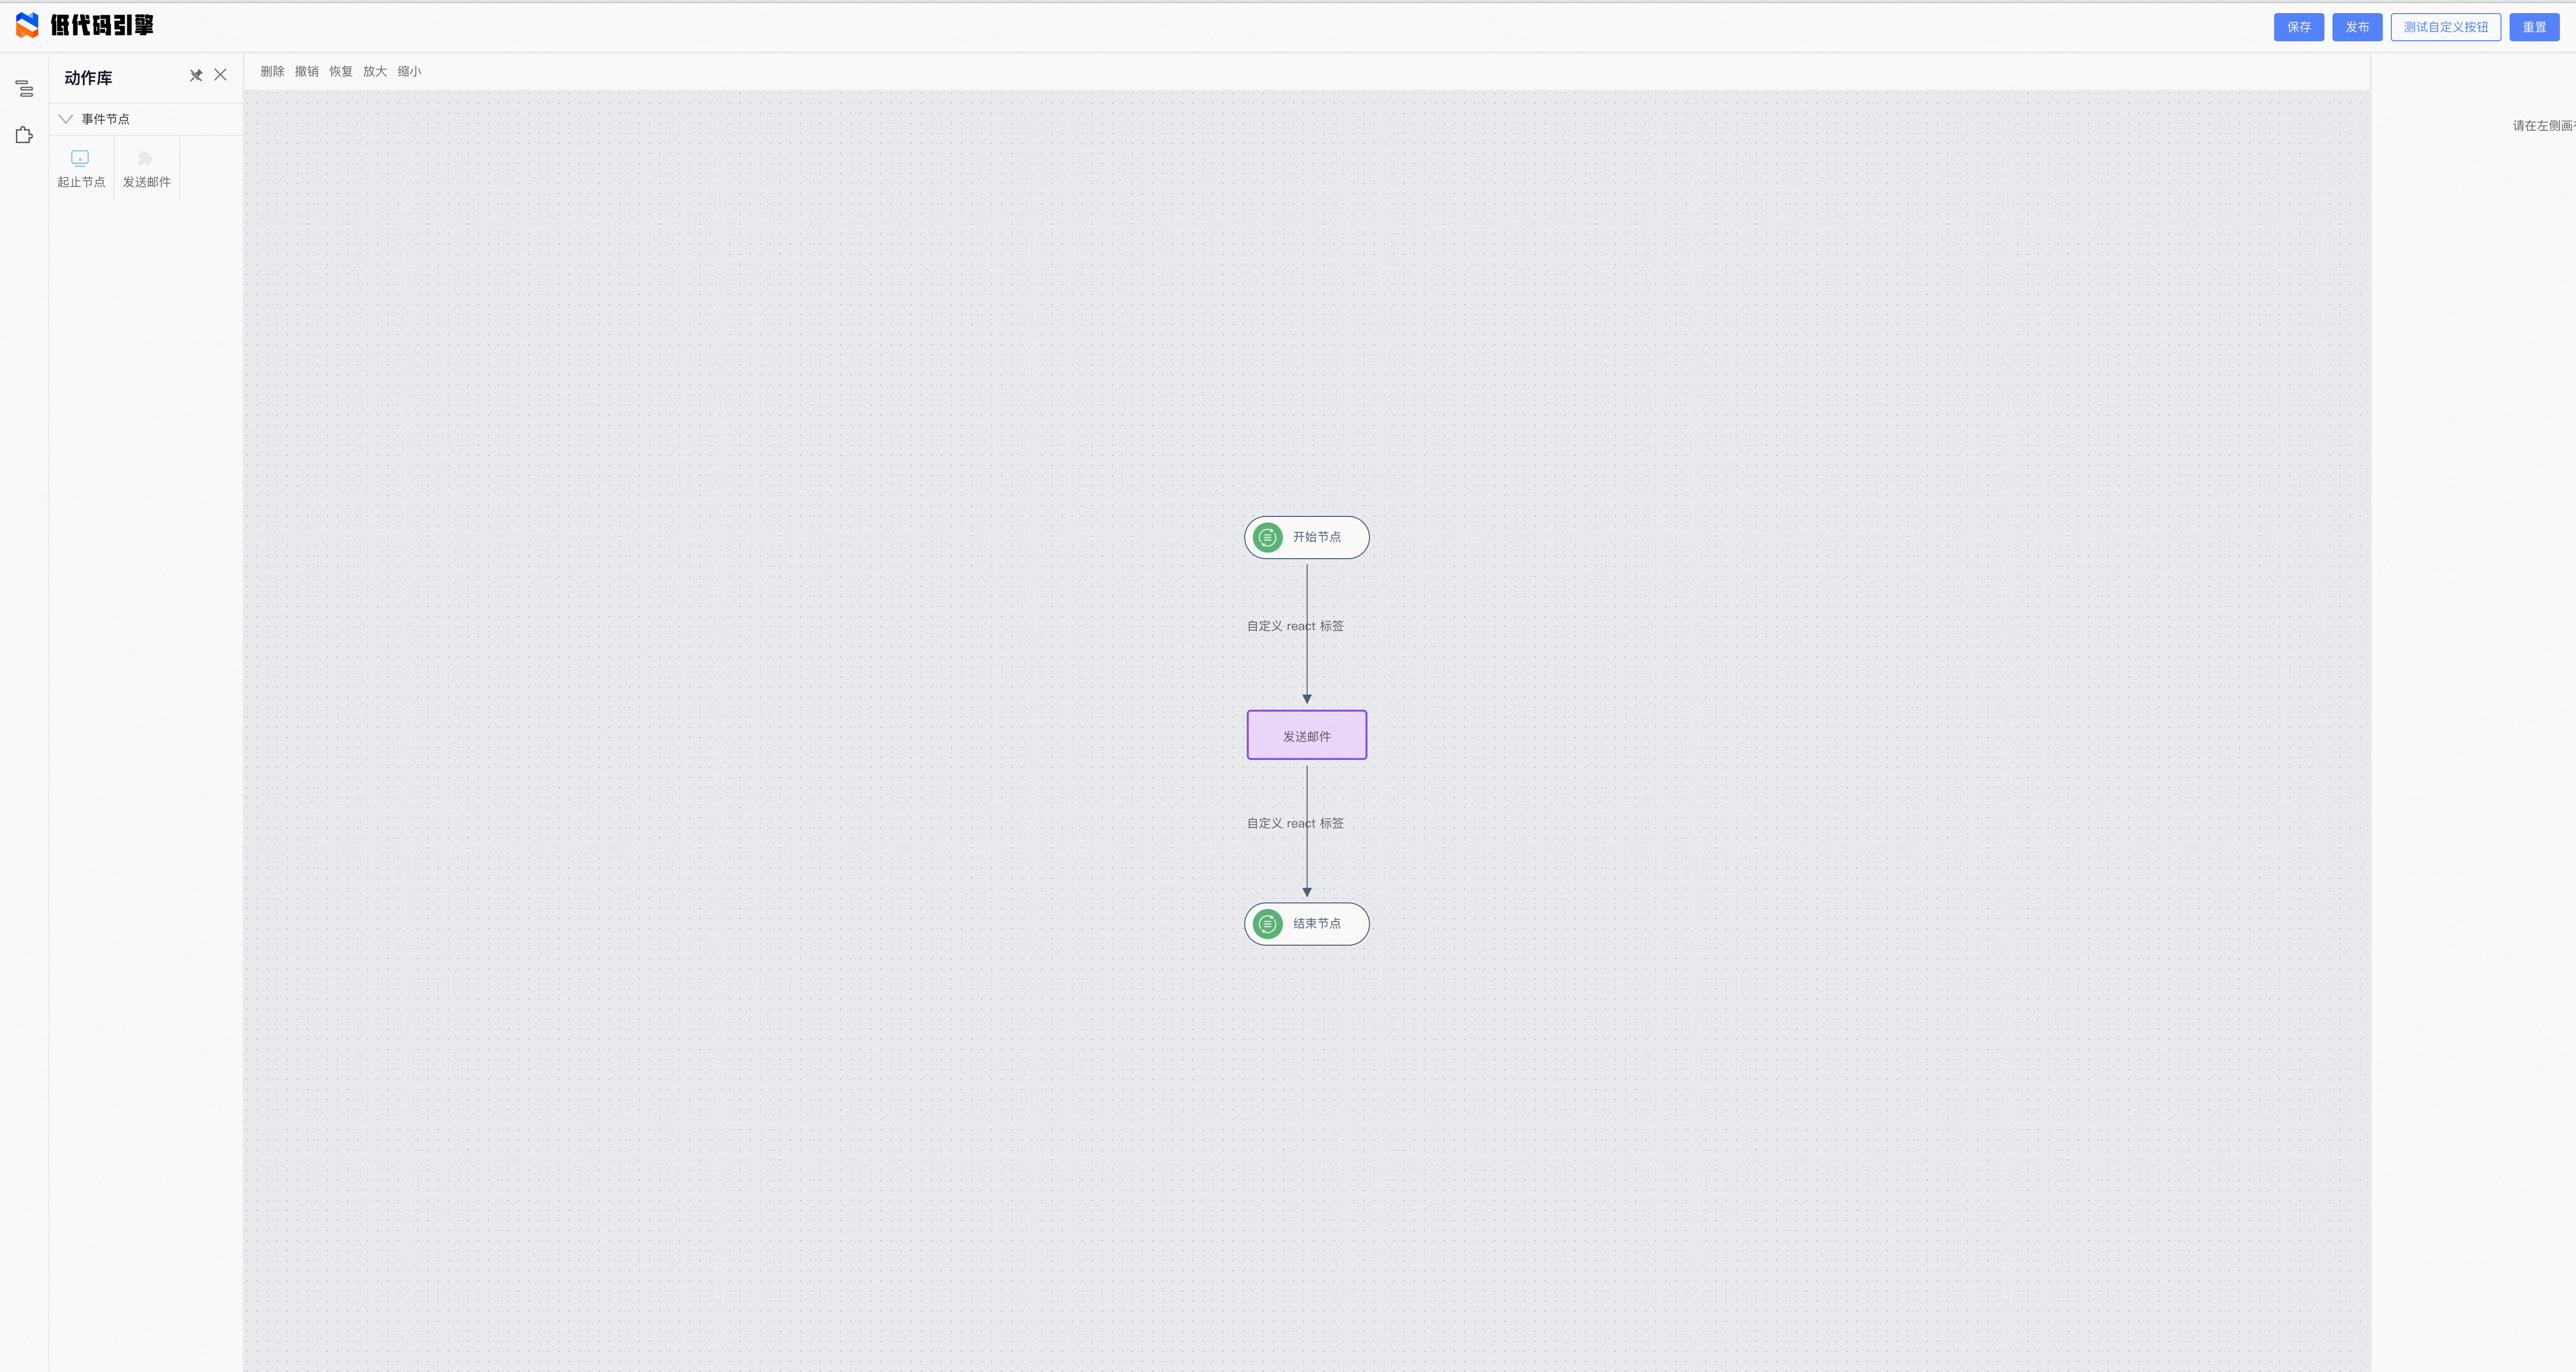
Area Layout
Top: Action Area
- Right side: Save to local, reset page, custom buttons
Top: Toolbar Area
- Left side: Delete, undo, redo, zoom in, zoom out
Left: Panel and Action Area
- Material panel: Search nodes and drag nodes from here onto the editor canvas
Center: Visual Page Editing Canvas
- Click a node/edge to show corresponding component property configuration in the right panel
- Drag to reorder nodes
Right: Component-Level Configuration
- Selected component: Breadcrumb from page root to the currently selected node/edge; click a name to switch to that node
- Selected component configuration: Properties—basic property value settings for nodes
Each area's layout can be replaced and customized to build the business product developers need.
Directory Overview

- public: Same as other demos—required dependencies for the low-code engine
- src
- plugins: Custom plugins that implement x6 aspect callback handling
- services: Mock data; in real scenarios this may be fetched asynchronously
Developing Plugins
function pluginX6DesignerExtension(ctx: IPublicModelPluginContext) {
  return {
    init() {
      // Get export APIs of the built-in x6 designer plugin
      const x6Designer = ctx.plugins['plugin-x6-designer'] as IDesigner;

      x6Designer.onNodeRender((model, node) => {
        // @ts-ignore
        // Custom node render logic
        const { name, title } = model.propsData;
        node.attr('text/textWrap/text', title || name);
      });

      x6Designer.onEdgeRender((model, edge) => {
        // @ts-ignore
        const { source, target, sourcePortId, targetPortId } = model.propsData;
        console.log(sourcePortId, targetPortId);
        requestAnimationFrame(() => {
          edge.setSource({ cell: source, port: sourcePortId });
          edge.setTarget({ cell: target, port: targetPortId });
        });

        // https://x6.antv.vision/zh/docs/tutorial/intermediate/edge-labels x6 label module
        // appendLabel triggers onEdgeLabelRender
        edge.appendLabel({
          markup: Markup.getForeignObjectMarkup(),
          attrs: {
            fo: {
              width: 120,
              height: 30,
              x: -60,
              y: -15,
            },
          },
        });
      });

      x6Designer.onEdgeLabelRender((args) => {
        const { selectors } = args;
        const content = selectors.foContent as HTMLDivElement;
        if (content) {
          ReactDOM.render(<div>Custom React label</div>, content);
        }
      });
    },
  };
}

pluginX6DesignerExtension.pluginName = 'plugin-x6-designer-extension';

export default pluginX6DesignerExtension;
x6Designer exposes interfaces for the graph instance. You can build necessary graph plugins on top of them. Plugin packaging fully follows the low-code engine plugin pattern. See /lowcode-engine/docs/guide/expand/editor/pluginWidget for details.
Developing Materials
npm init @rchh/element your-material-demo
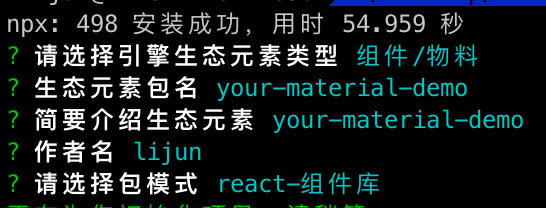
Repository initialization complete.

You can now write material content. Graph materials differ from low-code DOM canvas scenarios, so standalone material debugging is not supported yet. Materials must be debugged through the project demo.
Asset Description
npm run lowcode:build
If the material is a React component, running the above command automatically generates the corresponding meta.ts. However, graph materials are often not React components, so meta.ts must be created manually.
Reference: https://github.com/alibaba/lowcode-materials/blob/main/packages/graph-x6-materials/lowcode/send-email/meta.ts Material description files are also generated automatically.
Material Debugging
Material Side
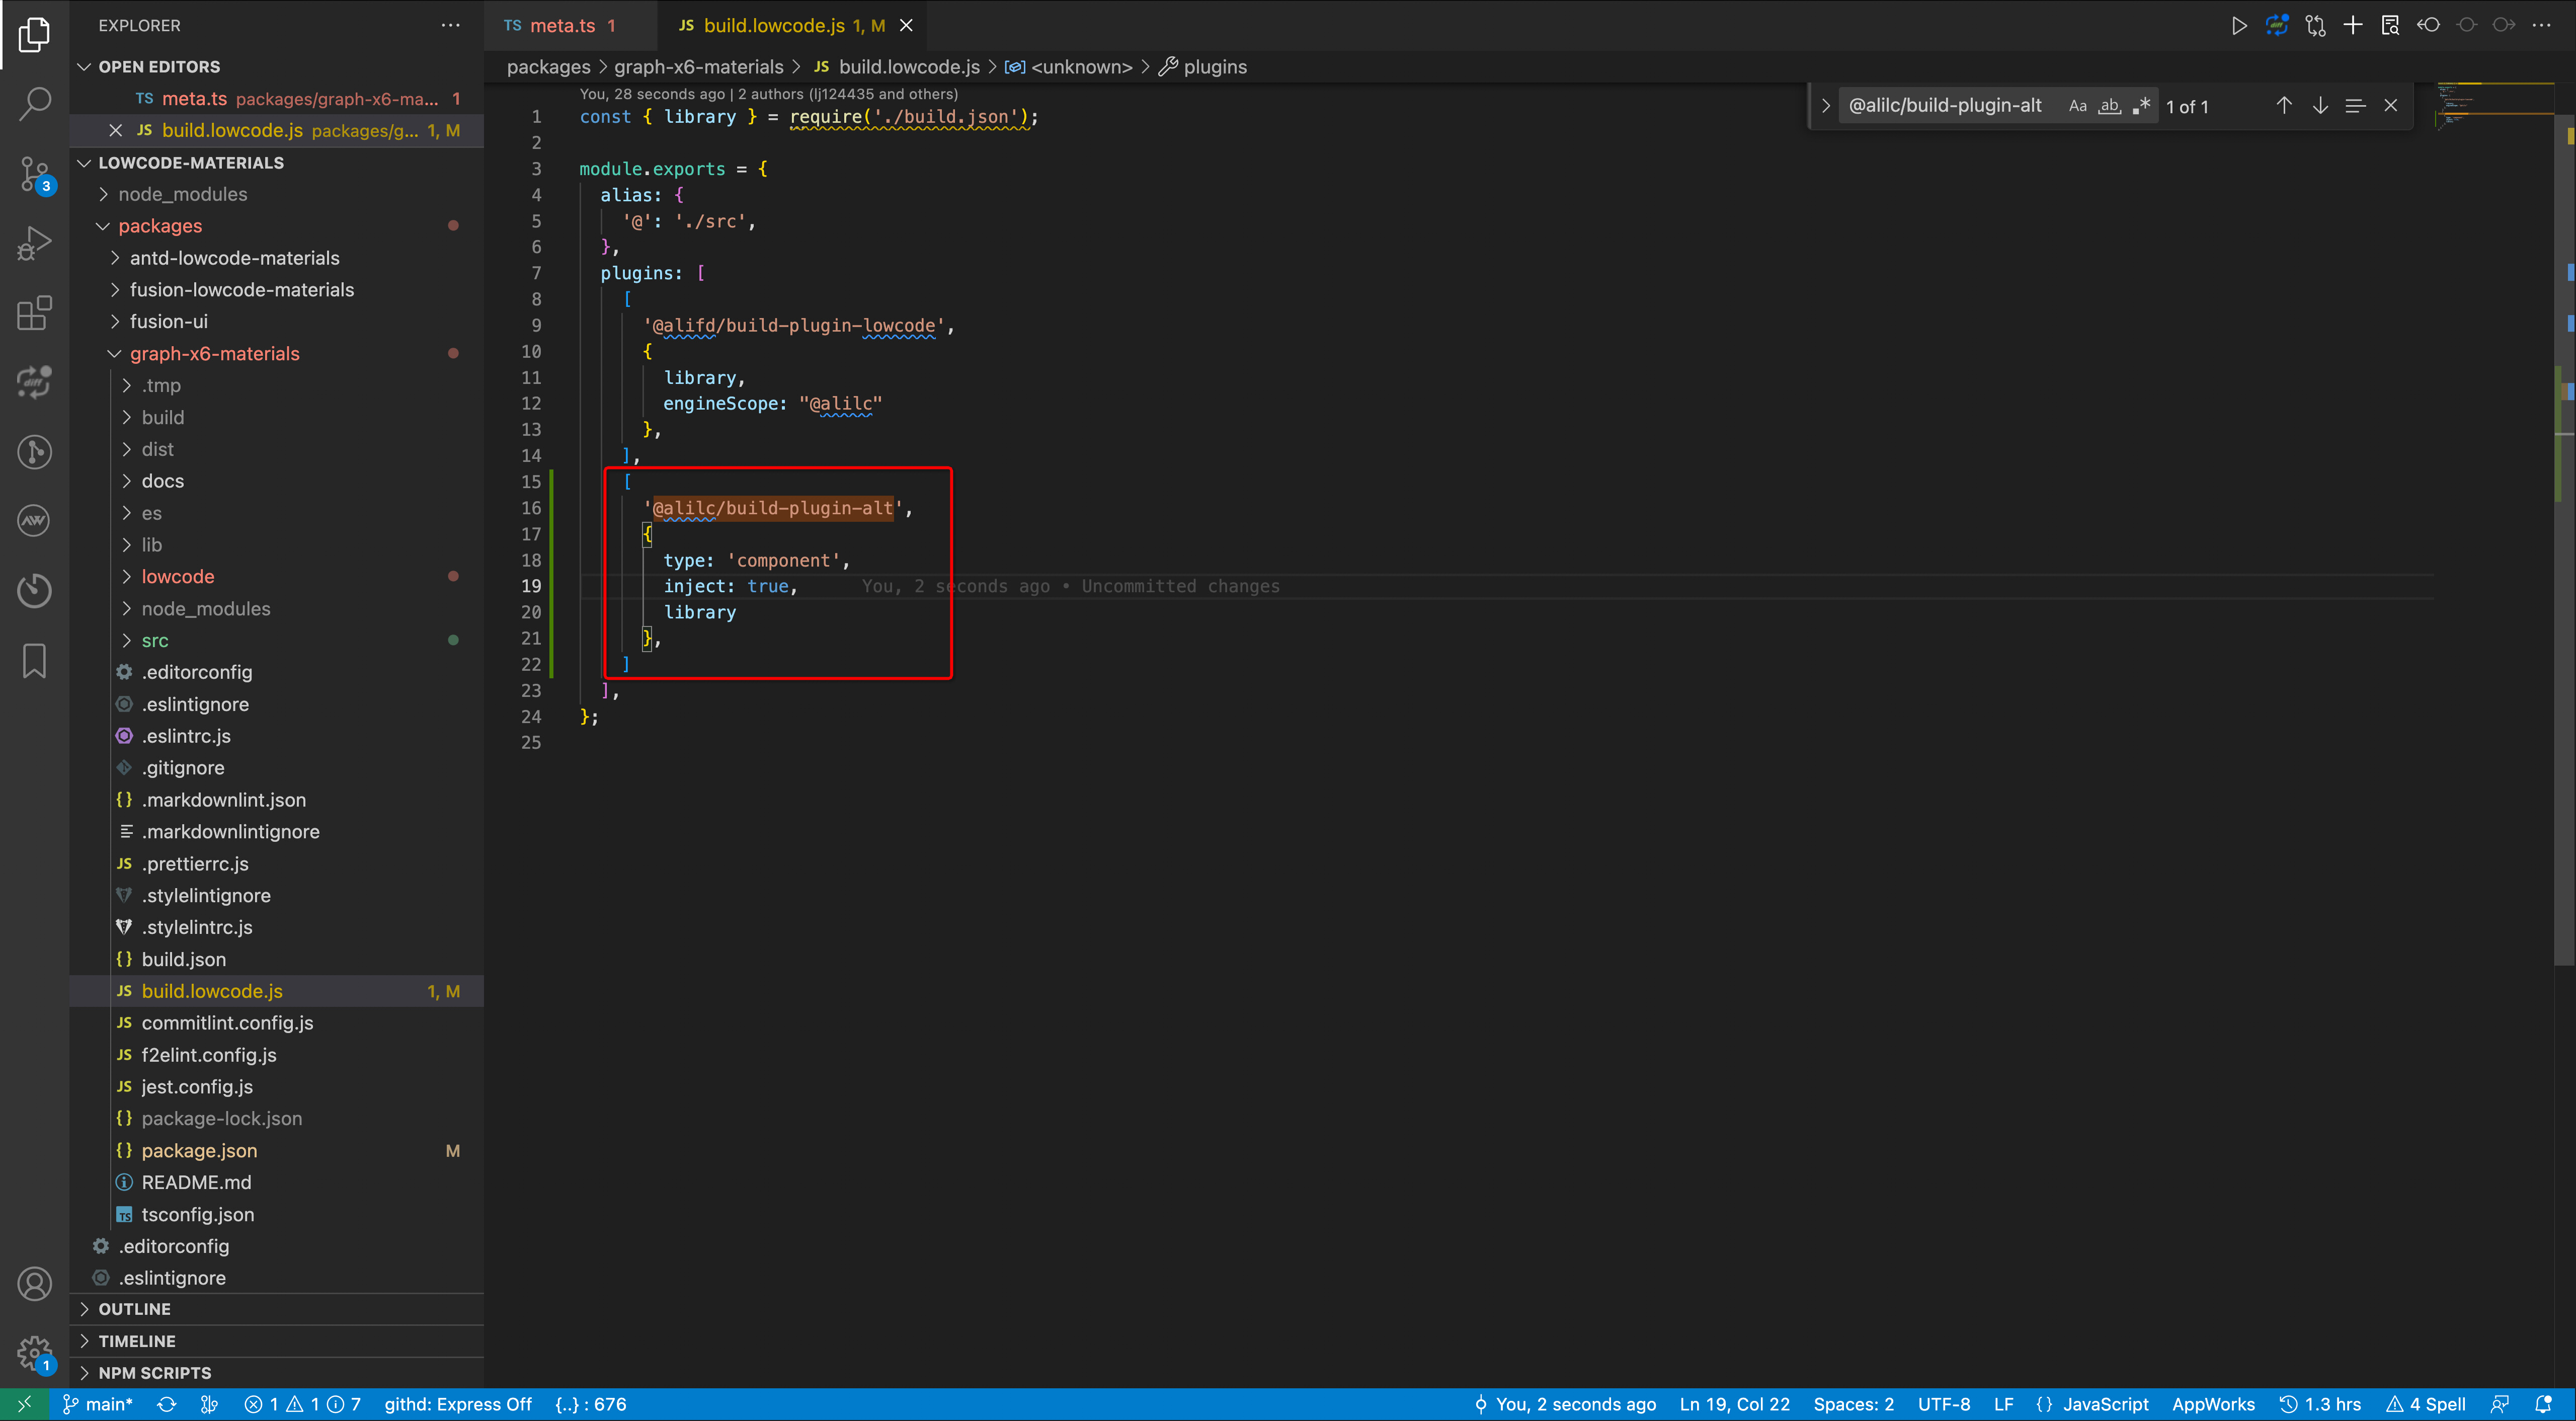
To support dynamic inject debugging by the project, add the following to build.lowcode.js:
[
  '@rchh/build-plugin-alt',
  {
    type: 'component',
    inject: true,
    library,
  },
];
Start locally:
npm run lowcode:dev
Project Side
Loading materials through @rchh/lce-graph-core natively supports debug, so no special handling is needed.
If the project loads materials itself, see /lowcode-engine/docs/guide/expand/editor/cli
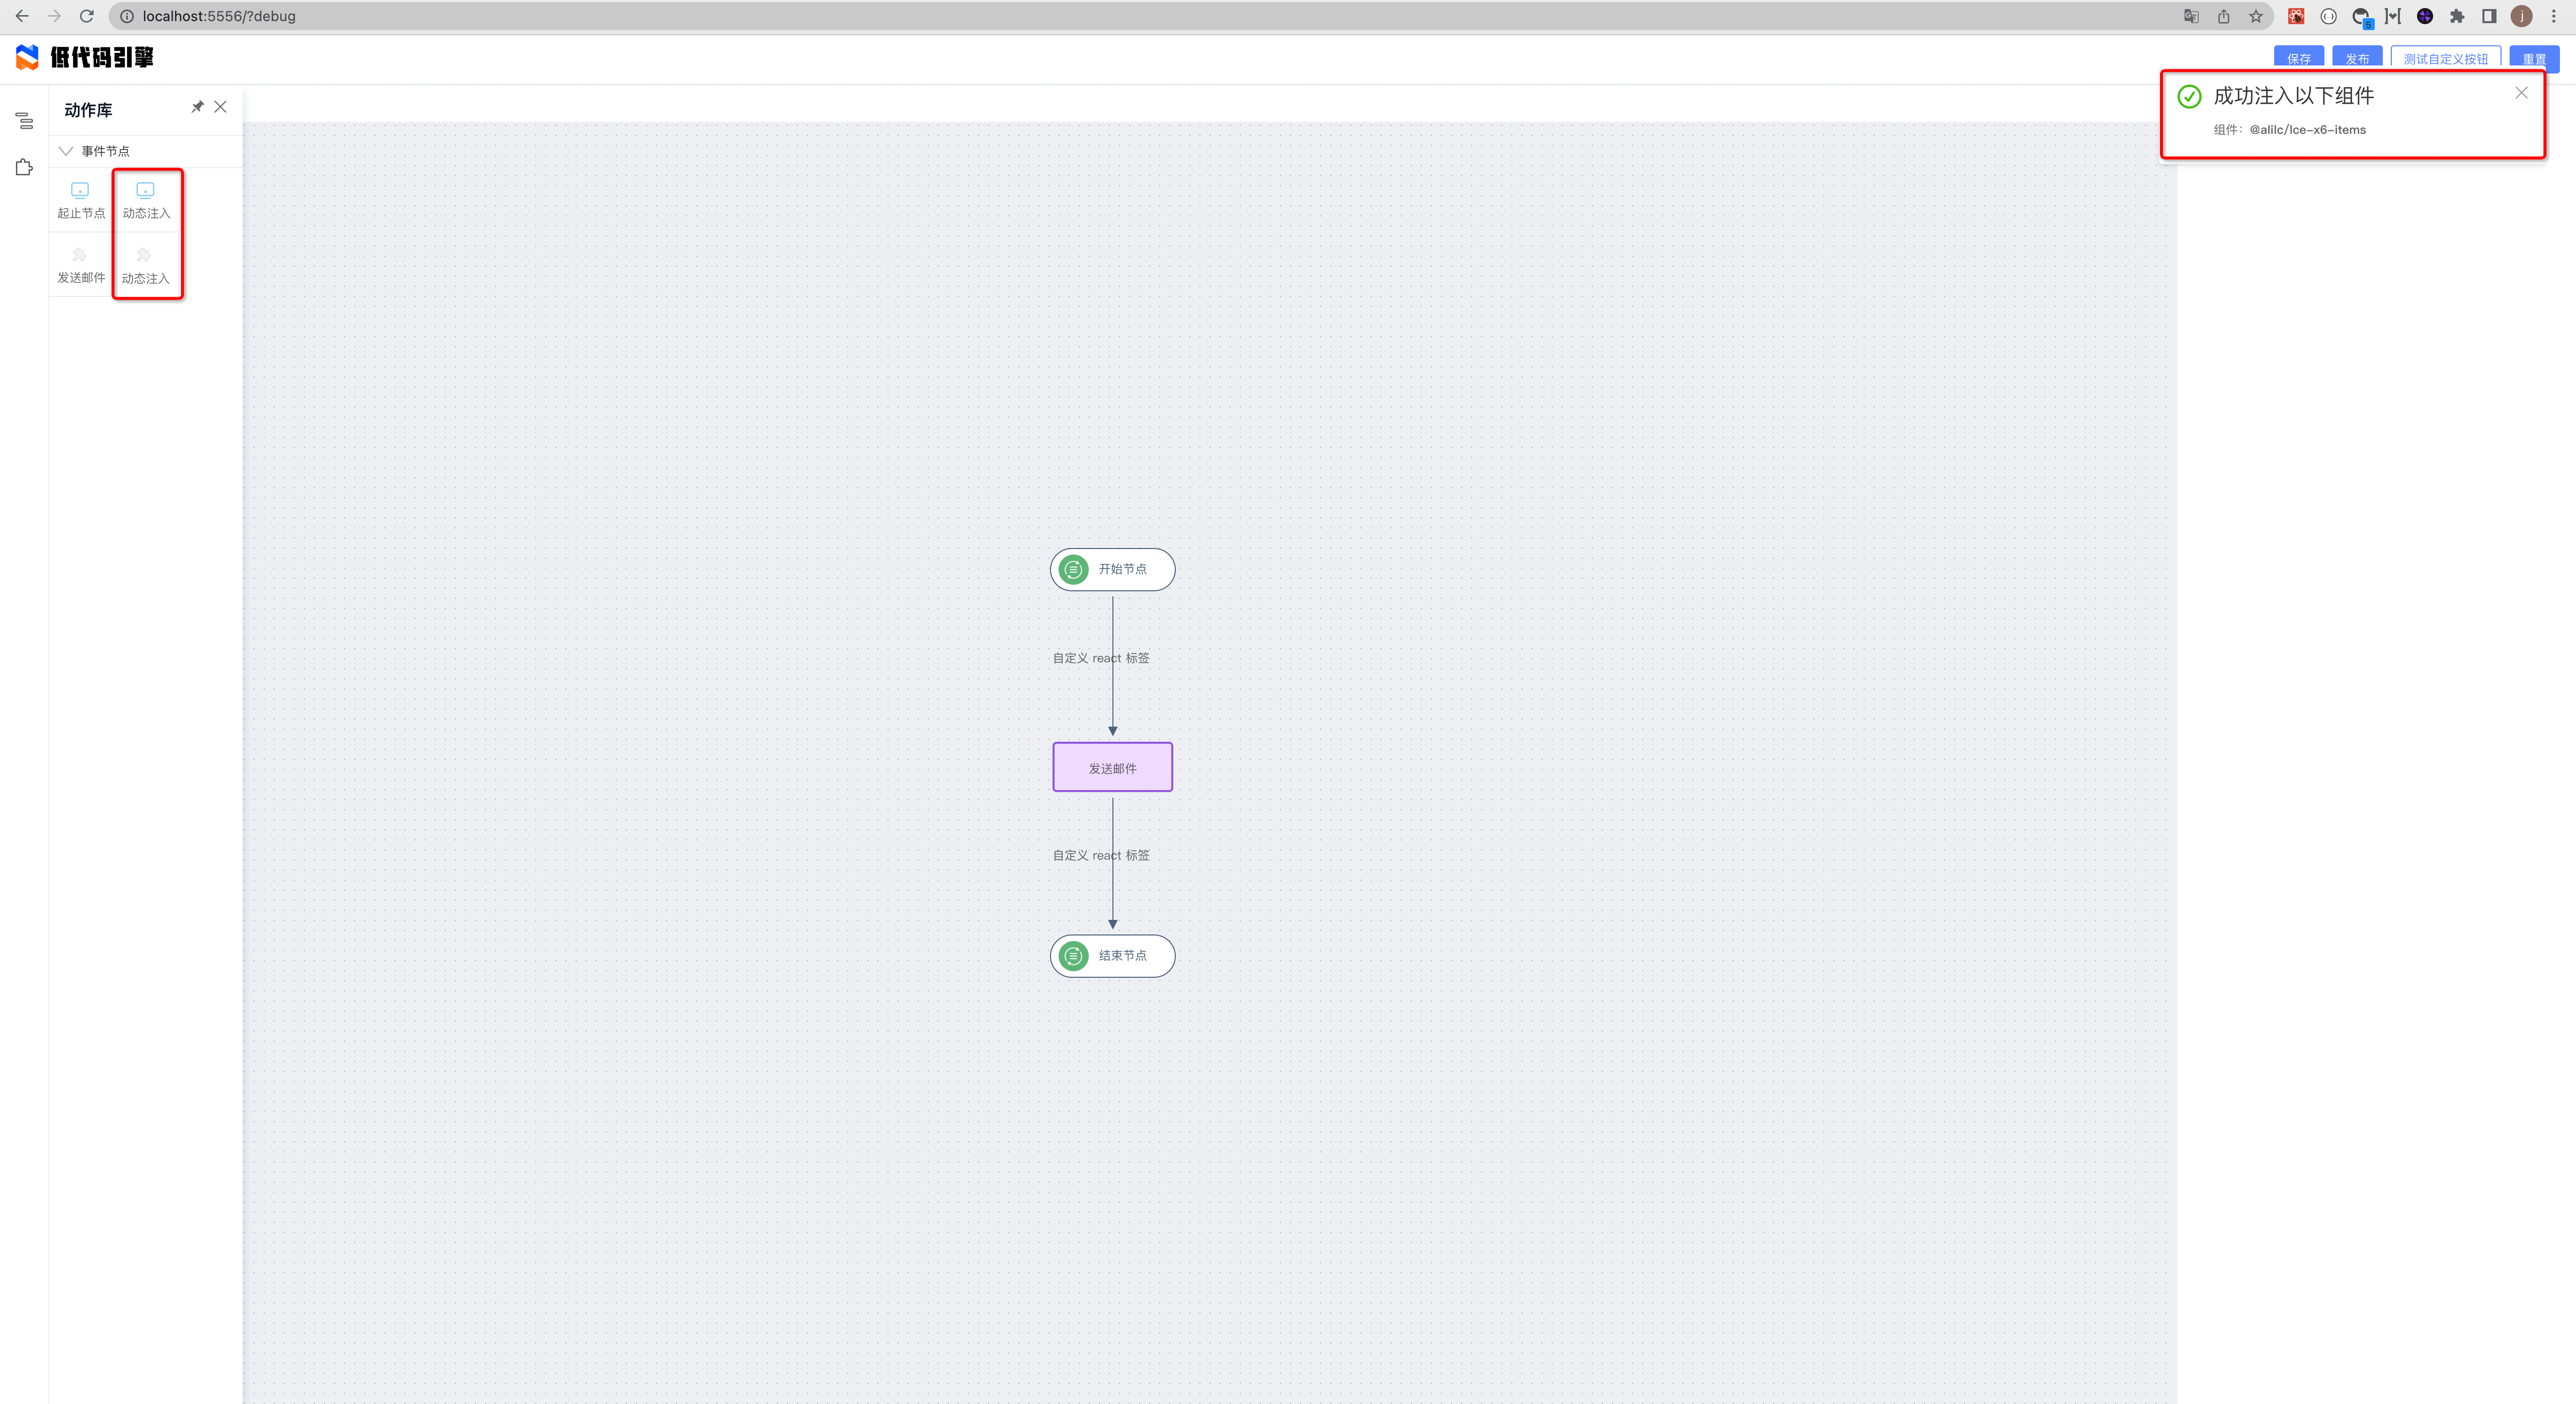
Append the query ?debug to the project URL to enter material debugging.